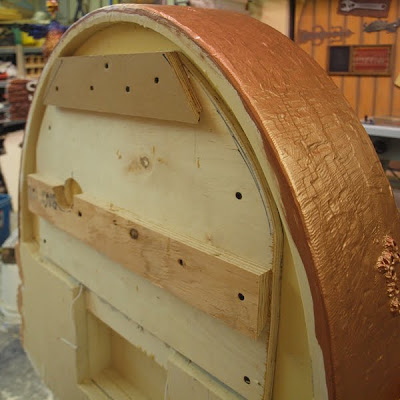
One question I often get asked is 'How do I hang our signs?' The answer of course is varied depending on the nature of the project but often I will use what I know as a french cleat. Basically, a board is ripped at a 45 degree angle and one side is mounted securely to the wall - the other to the sign. When the sign is hung the 45 degree angle of the boards keeps the sign securely in place, tight against the wall and also level without worry.
In this case the engineer and building inspector wants everything twice as secure as what I would consider normal. The sign is heavy (about a hundred pounds) and it is being mounted to a drywall surface. When I designed the sign I put a recesses surface into the back to allow for the bracket and wiring. I cut two pieces of half inch plywood to shape and two french cleats (four pieces) at a 45 degree angle. One piece of plywood was glued and screwed to the sign, the other will be mounted to the wall in similar fashion. Then I leveled my sign on the workbench and mounted the cleats to the sign using a level. I fastened the cleats to the wall plywood, making sure they fit into the sign properly.
I mounted the wall bracket securely to a stack of Precision Board in order to mount my sign while I worked on it. Rather than work on a sign flat I prefer to do it with the sign sitting as it will when it is done. In this fashion I can see how the lighting and shadows affect the coloring and shading we are doing. When we are ready to mount the sign I'll remove the bracket from its temporary home and glue and screw it to the wall before mounting the sign permanently.
The sign is now base coated, waiting for the glazes which come next.
-dan


