WIth the first of four Sign Magic Workshops now only six weeks away it is time to get the gears in motion once again. For the workshop hosted by MultiCam Canada in Toronto they will be routing the samples there in readiness for the students. We'll be using 30 lb Precision Board for the pieces. In the next series of posts I will be doing step by steps for the four sample pieces.
The first one is the letter 'a' in a simple domed, round panel with a texture created with one of my bitmaps from the TEXTURE MAGIC collection. I first created the vectors., then added an outline to the 'a'. The total size is approximately 7.5" across.
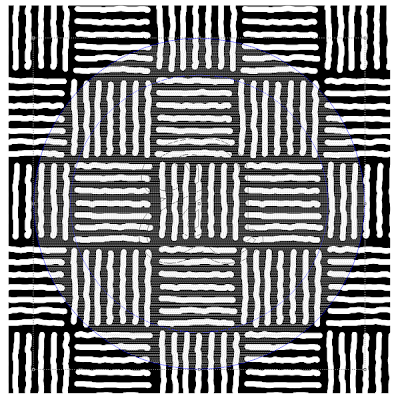
I added one more circle around the piece and created a zero height relief. This would allow me to machine the piece in one pass and leave an onion skin bottom, so it didn't lose vacuum and shift. I then aded a 0.3" relief for the frame around the circle. Then I modified this relief with a 10 degree dome with a height of 0.2" on the edge. This was further modified by placing a bitmap over the relief. I carefully sized and placed it over the circle vector, then used a value of 0.15 to create the texture. If you look close you can see the relief and inside vector, both blue because they are selected.
Then it was time to add the letter 'a' and the border around it. The border is first in the process. Create a flat relief. The height is irrelevant but I did it at 0.4". The I modified this flat relief by also selecting the circle vector and using the dome tool.
Then, using the up/down arrows in the front view I nudged it into position vertically. This was then merged with the base reief
Lastly a prism letter 'a' was added to the relief.
The file was duplicated six times to create the routing file.
This will be a dramatic piece when we show everyone just how to paint ot ti bring out all the textured magic!
-dan


