
For the second critter sign I chose the apothecary store. This is what they called drug stores in the olden days. In the wild west some unsavory druggists sold 'snake oil' - a cure for whatever ailed you. The motor & pestal was also a universal symbol of the drug store. I added the rattle snake as our critter - just for fun.

When I made up the vectors I added a background oval behind the snake to make it stand our a little better.

The first step was to create the flat relief. I made it 0.8" thick

The oval top was then dropped into this relief by using the subtract tool.


The lowest lettering border was then added to the base relief.


Then I added the next layer of lettering border.


The lettering was created using the bevel tool and I used the constant height option so the tops of the letters were all the same no matter how thick the lettering stroke.


With the body of the sign complete it was time to make the mortar and pestal. I first recreated the curves of the bowl.


I then created a mesh using the revolve tool.


I then created a zero height relief and merged (highest) the meshed to it.

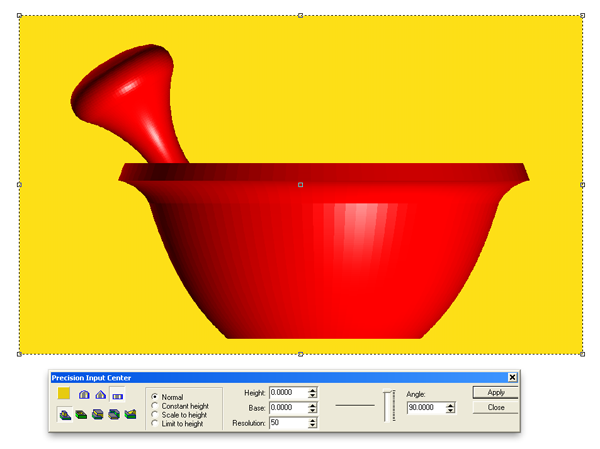


I then squished the bowl vertically to 3.8" using the precision input tools. I made sure the proportional box was unchecked so it only altered the thickness of the piece.

Then I used the slice tool to create two slices that would each fit in a 2" thick piece of Precision Board.


The sign will be routed in three layers but for the purpose of showing how it will look here's a shot of the pieces stacked.

Next up is the final critter sign. Stay tuned...
-dan