For such a small and seemingly simple piece the medallion for the Mechanical fish involved lots of steps and procedures. It also meant that I would need a 1/16" ballnose bit - something I don't use very often.
The bulk of the file, save for the scroll lettering was done in EnRoute Pro. Each point for the compass star would be built individually as things turn out better that way.
Once all of my guide lines were eliminated the vectors I needed for my reliefs were much easier to see.
With the point reliefs created it was time to start on the center ring of the compass. I built the ring and center dome separately.
Then I added an upper case 'D' to the centre. Before I created the 'D' relief I first did an offset so the thing lined of the letter were a little beefier.
I was no happy with the compass and it was time to make the background gear and circle reliefs. I used the star drawing tool to create an eight pointed star. Then I used the inner circle to trim the inside points. The outside points were trimmed using the jigsaw cutting tool.
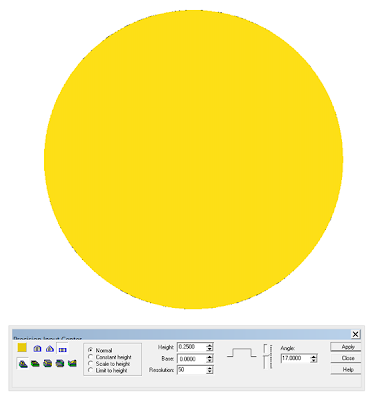
I wanted a gear with a bevelled edge and so I used the limit to height command to do this for me.
Then I added a little texture with a bitmap from the TEXTURE MAGIC collection.
Then everything was positioned vertically and merged highest to form my final relief.
Building and adding the scroll was the final step. I did the lettering and basic lines for the scroll in Illustrator, then imported them into EnRoute.
I positioned and sized the scroll over the previous relief, then built the final scroll and the underlying folds. These were then made into flat reliefs of varying heights. Once all of the scroll bits were built I combined them to form one relief.
When I hit render I had what I was looking for but it needed to be arched to come over the gear and star. I would use an oval vector to modify the scroll relief. It took a bit of experimentation to get what I was looking for.
The last step was to sink in the lettering.
The name plate was then sent off to the MultiCam for routing from 1.5" thick 30 lb Precision Board.
The name plaque will fit right in with the whole piece as I sculpt it in. I'll be adding some barnacles and sea life to add a little more theme and make the base part of the overall sculpture. Stay tuned...
-dan


